

How to Fix a Leaking Tap: Common Causes, Safe Checks and When to Call a Plumber
A leaking tap might seem minor, but the constant drip can waste water, increase bills and put extra wear on the tap, washer, valve seat or internal cartridge.
For Brisbane, Gold Coast and South East Queensland homes, leaking taps are often caused by worn washers, ageing O-rings, damaged ceramic cartridges, high water pressure, corrosion or old tapware that has simply reached the end of its service life.
Some basic checks can help you understand where the leak is coming from. However, if the tap keeps leaking after simple checks, the isolation valve does not work, the tap body is damaged, or water is leaking into cabinetry or walls, it is time to book a licensed plumber.
JR Gas & Water can help with Brisbane plumber services, tap repairs, fixture replacements, water pressure issues and general plumbing maintenance across Brisbane, the Gold Coast and nearby South East Queensland areas.
Quick Answer
A leaking tap is usually caused by a worn washer, faulty O-ring, damaged cartridge, worn jumper valve, corroded valve seat or high water pressure. If the tap drips from the spout, the internal washer or cartridge is often the issue. If water leaks around the base, the O-ring, cartridge or tap body may be worn.
You can safely check where the leak is coming from, whether the tap stops when closed gently, and whether the isolation valve works. Do not force seized fittings, overtighten the tap, remove parts if you are unsure, or keep using a tap that leaks into cabinetry, walls or flooring.
If the leak continues, JR Gas & Water can help through service work pricing or a plumbing booking.
Why Is My Tap Leaking?
A leaking tap can come from several different parts, depending on the tap type and where the water appears.
Common causes include:
Worn tap washer
Worn jumper valve
Damaged O-ring
Faulty ceramic disc cartridge
Corroded valve seat
Loose or damaged tap body
High water pressure
Ageing flexible hoses or fittings
Mineral buildup inside the tap
Poor previous repair or mismatched parts
Older compression taps often leak because the washer or valve seat has worn. Modern mixer taps often leak because the ceramic cartridge, O-ring or internal seal has failed.
The repair depends on the tap style, age and condition.
1. Water Dripping From the Tap Spout
If water drips from the spout when the tap is turned off, the internal sealing part is usually not closing properly.
This may be caused by:
A worn washer
A damaged jumper valve
A faulty ceramic cartridge
A worn valve seat
Debris caught inside the tap
Overtightening that has damaged internal parts
A slow drip can become worse over time. Overtightening the tap may temporarily reduce the drip, but it can also damage the washer, valve seat or cartridge faster.
2. Water Leaking Around the Base of the Tap
Water around the base of the tap usually points to an O-ring, seal, cartridge or tap body issue.
You may notice:
Water pooling around the tap base
Water leaking when the tap is turned on
Water running underneath the sink
Moisture around the benchtop or vanity
Swollen cabinetry near the tap
A loose or wobbly mixer
This type of leak should not be ignored because water can run into cupboards, benchtops or wall cavities.
If water is appearing under the sink or inside cabinetry, book a plumber before it causes further damage.
3. Leaking Mixer Tap
Mixer taps are common in kitchens, bathrooms and laundries. Instead of a simple washer, many mixer taps use a cartridge.
A leaking mixer tap may be caused by:
Faulty ceramic cartridge
Worn internal seals
Loose tap body
Damaged O-rings
Corrosion inside the mixer
High water pressure
Poor quality or ageing tapware
Mixer tap repairs can be less straightforward because cartridges vary by brand and model. If the cartridge is unavailable or the tap body is worn, replacing the tap may be better than repairing it.
JR Gas & Water can help with plumbing repairs and fixture replacement through its Brisbane plumber booking page.
4. Leaking Tap Under the Sink
Sometimes the tap itself is not the only issue. Water under the sink may come from the flexible hose, isolation valve, mixer connection or pipework.
Common causes include:
Loose connection
Worn washer
Split flexible hose
Faulty isolation valve
Corroded fitting
Leaking mixer body
Water running down from the tap base
Old or stressed pipework
If a flexible hose is leaking, bulging, rusted or cracked, it should be replaced promptly. Failed flexible hoses can cause serious water damage.
Do not keep tightening a leaking hose or valve if it is corroded or damaged. Book a plumber to check the connection properly.
5. High Water Pressure Causing Tap Leaks
High water pressure can make taps, valves, toilets, hot water systems and flexible hoses wear faster.
If several taps are dripping, toilets are running, valves are noisy or hot water valves keep discharging, the issue may be more than one faulty tap.
Signs of high water pressure can include:
Taps dripping even after repair
Noisy pipework
Water hammer
Toilet inlet valves failing
Hot water valve discharge
Shortened tapware life
Flexible hoses under strain
Several fixtures leaking around the same time
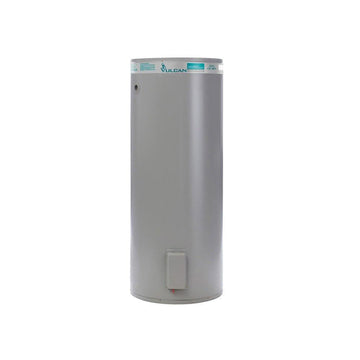
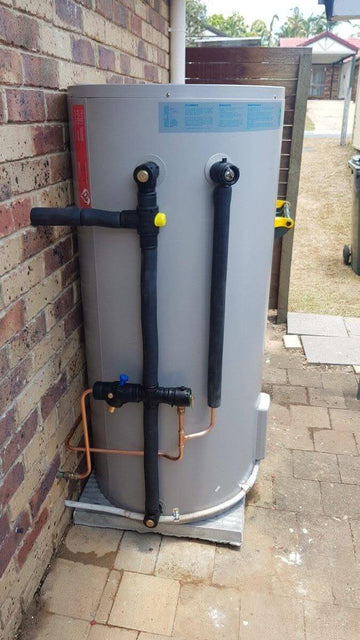
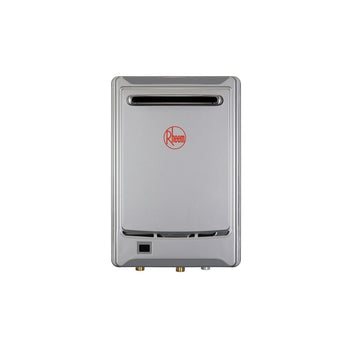
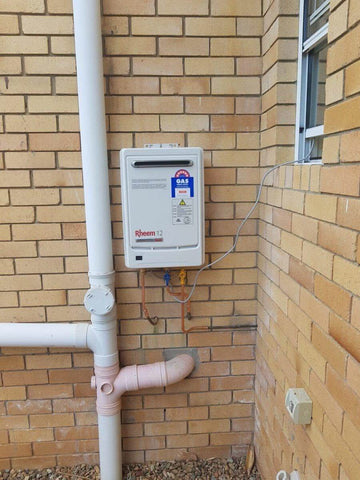
JR Gas & Water can help investigate water pressure problems as part of a plumbing service. Water pressure issues can also affect hot water systems, so it may be worth checking hot water repairs and servicing if the issue is connected to hot water fixtures.
Safe Checks Before You Call a Plumber
You can do a few basic checks without dismantling the tap or touching pipework.
Check where the leak is coming from:
Is it dripping from the spout?
Is water leaking around the tap base?
Is water appearing under the sink?
Is the leak constant or only when the tap is turned on?
Does the tap feel loose?
Is the isolation valve leaking?
Are other taps also leaking?
Is the leak only on hot water, cold water or both?
Is the cabinetry swollen or damp?
Take photos of the tap, the leak and the pipework underneath. This helps JR Gas & Water understand the issue before the job is booked.
What Not to Do With a Leaking Tap
A leaking tap can become worse if fittings are forced or parts are replaced incorrectly.
Avoid:
Overtightening the tap handle
Forcing seized isolation valves
Using mismatched washers or cartridges
Removing mixer cartridges if you are unsure
Ignoring water under cabinetry
Leaving a leak near electrical appliances
Using temporary sealants as a permanent repair
Ignoring several leaking fixtures at once
Trying to repair corroded pipework without a plumber
Assuming every tap leak is just a washer
If the tap is old, corroded, loose, leaking underneath or connected to damaged pipework, it is safer to book a licensed plumber.
Repair or Replace the Leaking Tap?
Not every leaking tap needs replacing. Many leaks can be repaired if the tap body is in good condition and the parts are available.
Repair May Make Sense If
The tap body is still in good condition
The leak is from a washer, O-ring or cartridge
Replacement parts are available
The tap is not corroded
The fixture is not loose or cracked
The pipework underneath is sound
The isolation valve works properly
Replacement May Be Better If
The tap is old or heavily worn
The tap body is corroded
The mixer cartridge is hard to source
The tap keeps leaking after repair
The fixture is loose or damaged
Water is leaking into cabinetry
The finish is deteriorated
You are upgrading the kitchen, bathroom or laundry
The repair cost is too close to replacement cost
For older homes or repeated leaks, replacing the tapware can be the more practical long-term option.
Local Brisbane and Gold Coast Tap Leak Issues
Tap leaks across Brisbane, the Gold Coast and South East Queensland are often affected by property age, water pressure, fixture quality and previous plumbing work.
Common local issues include:
Older homes with ageing tapware
High water pressure wearing washers and cartridges
Coastal corrosion around some Gold Coast homes
Rental properties with heavy fixture use
Renovated homes with mixed old and new plumbing
Hard-to-access isolation valves
Worn flexible hoses under sinks
Water hammer affecting fixtures
Older hot water systems affecting hot-side fixtures
A leaking tap may be a simple fixture problem, but if multiple taps or valves are affected, the broader plumbing system may need checking.
How to Prevent Future Tap Leaks
Good maintenance can help reduce repeat leaks.
Practical prevention tips include:
Fix small drips early
Avoid overtightening taps
Check under sinks for moisture
Replace ageing flexible hoses when needed
Repair faulty isolation valves early
Use good quality tapware and parts
Ask a plumber to check water pressure if leaks keep returning
Do not ignore water hammer or noisy pipework
Keep taps clean and free from heavy mineral buildup
If water quality or sediment is affecting fixtures, JR Gas & Water can also help compare suitable water filters for the home.
What JR Gas & Water Can Help With
JR Gas & Water can help with leaking taps and related plumbing issues across Brisbane, the Gold Coast and nearby South East Queensland areas.
Relevant services include:
Book a Brisbane plumber for tap repairs and plumbing maintenance
Check service work pricing before booking common plumbing work
Use the quote request page for photos, details and larger plumbing jobs
Get help with hot water repairs and servicing if the issue is connected to hot water pressure or performance
Compare water filters if water quality, sediment or fixture protection is part of the concern
FAQs About Leaking Taps
Why does my tap keep dripping after I turn it off?
A tap usually keeps dripping because the washer, jumper valve, ceramic cartridge or valve seat is worn and no longer seals properly. Overtightening the tap can make the problem worse over time.
Can I fix a leaking tap myself?
You can safely check where the leak is coming from and whether the tap, base or pipework is wet. Replacing parts may be possible for some simple taps, but seized fittings, mixer cartridges, damaged tap bodies, leaking isolation valves and water under cabinetry should be handled by a plumber.
Why is my mixer tap leaking at the base?
A mixer tap leaking at the base may have worn O-rings, a faulty cartridge, a loose body or damaged internal seals. If water is leaking into the cupboard below, book a plumber before it damages cabinetry or benchtops.
Why does my tap still leak after replacing the washer?
If the tap still leaks after the washer has been replaced, the valve seat may be worn, the jumper valve may be damaged, the wrong washer may have been used, or the tap body may be too worn to seal properly.
Can high water pressure cause leaking taps?
Yes. High water pressure can push harder against tap seals, washers, cartridges, valves and flexible hoses. If several fixtures are leaking or failing, the property’s water pressure may need to be checked.
Should I repair or replace an old leaking tap?
Repair can be worthwhile if the tap body is in good condition and parts are easy to source. Replacement may be better if the tap is old, corroded, loose, repeatedly leaking or difficult to repair.
Is a leaking tap urgent?
A small drip is not always an emergency, but it should still be repaired. If water is leaking into cabinetry, walls, floors or near electrical appliances, it should be treated urgently.
When should I call JR Gas & Water for a leaking tap?
Call JR Gas & Water if the tap keeps dripping, water leaks around the base, the isolation valve does not work, pipework under the sink is wet, multiple fixtures are leaking, or the leak returns after a repair.
Final Thoughts
A leaking tap is usually caused by a worn washer, O-ring, cartridge, valve seat or pressure-related issue. While a small drip may seem harmless, it can waste water and lead to bigger plumbing problems if ignored.
Start by identifying where the leak is coming from. If the tap is dripping from the spout, leaking around the base, wet underneath, hard to isolate or repeatedly failing, it is worth getting it checked properly.
Need help with a leaking tap?
Book a Brisbane plumber, check service work pricing, or send photos through the JR Gas & Water quote request page for practical advice.